 |
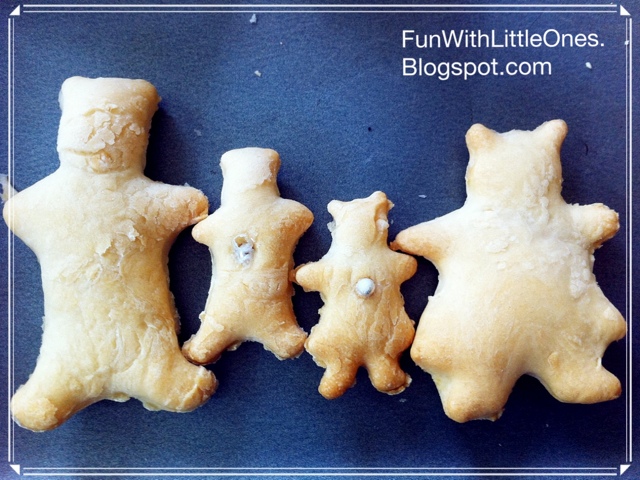
| Happy Bear Family |
Ethan and I had a good 1 hour fun making bread sculptures today. When I told him I'm going to make some Playdoh bread today, he excitedly pull out his apron from the drawer and offered to help. So he happily helped me prepared the batter, rolled and beat the dough. Lastly we shaped the dough into some really cute looking sculptures and he kept saying, "mommy, this is fun!".
It's so easy that anyone can do this, this activity will be most suitable when you have a bunch of kids coming over for a party. It is just like making playdoh but only better - you can eat the end products :)
 |
| Ethan happy rolling using his kid size rolling pin, he was feeling really proud of himself. :) |
 |
| Moulding a heart shape sculpture. We worked on 1 ball at a time. |
Here's the ingredients you need:
Ingredient A:
2 teaspoons of salt
7 cups of flour
1/2 cup of vegetable oils
Ingredient B:
1 packet of instant yeast (11gm)
2 cups of warm water
5 table spoons of honey (add more for sweeter breads)
For decoration:
Chocolate chips
Edible Pearl balls
Raisins or dried raspberries
Note: the bread produced was rather hard, so next round I will make some adjustment by replacing 1 cup of water with fresh milk, increase to 6 spoons of honey and add an egg into ingredient A. Hopefully this will not make the dough too sticky to work on.
Here's how you do it. It takes only about 20 min to prepare and you can have hours of fun with the LOs.
- Put all ingredient B in a bowl, let it stands for 5 minutes. You would see bubbles forming, that's the yeast in action.
- Add all ingredient A in a mixer bowl. Mix well, then add into the ingredient B and form into dough.
- Roll the dough into a ball, then knead it for about 10 minutes using rolling pin with your LOs. If it gets too sticky, just spread some flour onto the dough.
- Break the dough into smaller portions (about 8 balls) and start making the sculptures with your LOs.
- Prepare a baking tray with non stick baking sheet, put each sculpture on the tray with about 1" apart.
- Preheat the oven to 375F or 170C. Let the sculpture rest for about 10 minutes before baking. Bake the bread in oven for about 15-20 minutes until they turn golden brown (the baking time depends on the size of your sculpture).
The original recipe is adopted from the book "Wonderplay, too".
Unlike normal bread or cookie dough, this batter is not sticky and is easy to work on. Below are some of the sculptures we made today, hope you have fun with your LOs too. ;)
 |
| Mickey Twins |
 |
| Kittens, Bunny and Bear |
 |
| Remaining dough were made into mini sausage rolls and raspberries rolls |
 |
| The unbaked dough, about to enter the oven. |
Copyrights © Pui Hua and Fun With Little Ones, 2012 - present. Unauthorized use and/or duplication of any materials/photos within this website without express and written permission from this blog’s author and/or owner is strictly prohibited. Excerpts and links may be used, provided that full and clear credit is given to Pui Hua and Fun With Little Ones with appropriate and specific direction to the original content.
No comments:
Post a Comment